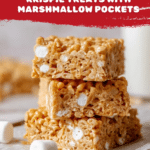
Peanut Butter Rice Krispie Treats Recipe
Introduction
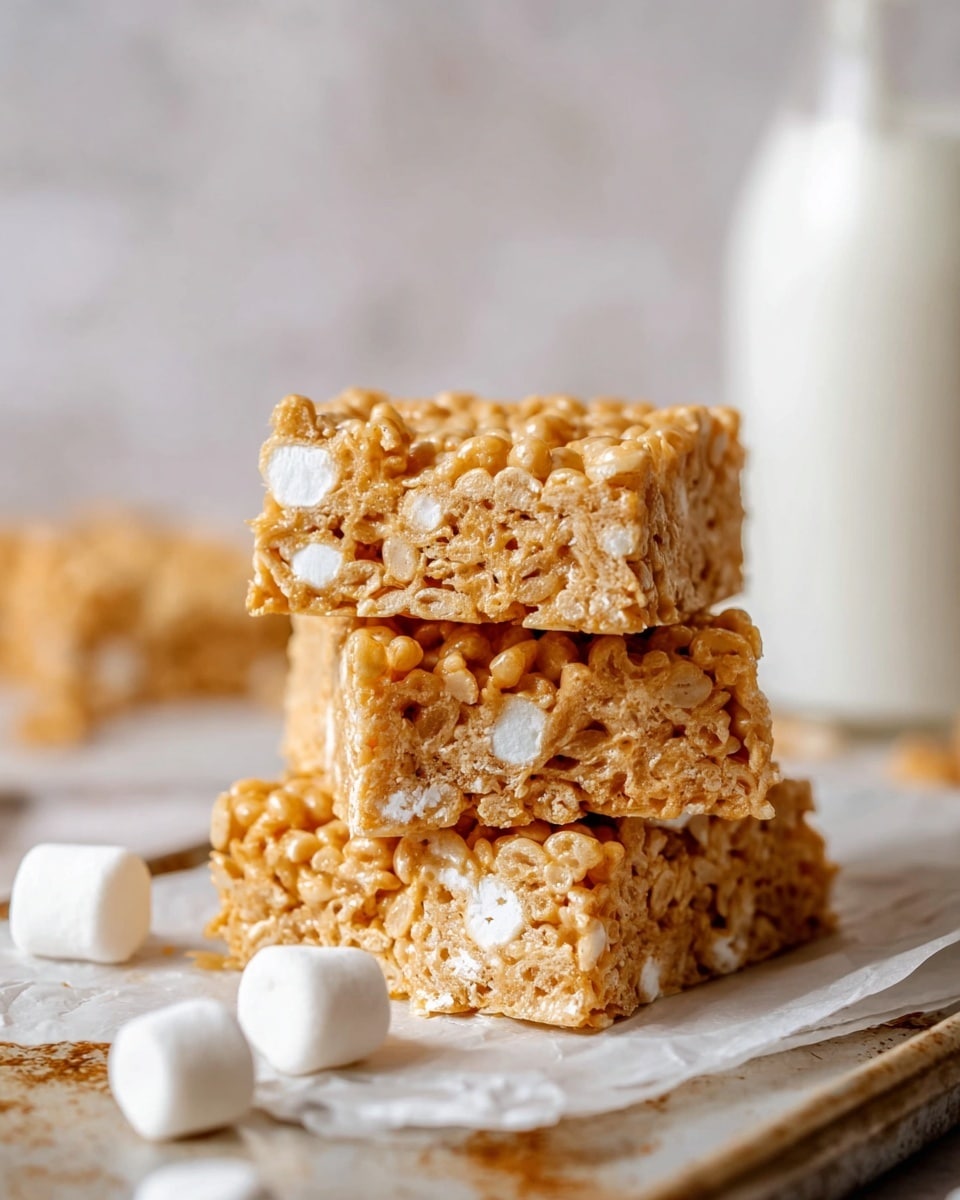
Peanut Butter Rice Krispie Treats are a delightful twist on a classic favorite, combining the nutty richness of brown butter and creamy peanut butter with the gooey sweetness of marshmallows. These treats are perfect for a quick snack or a fun dessert that’s easy to make and loved by all ages.
Ingredients
- 1/2 cup unsalted butter
- 8 cups mini marshmallows, divided
- 3/4 cup creamy peanut butter (or cookie butter!)
- 2 tsp. vanilla extract
- 1/2 tsp. salt
- 6 cups Rice Krispie Cereal
Instructions
- Step 1: Lightly grease a 9×9 pan with baking spray or line it with parchment paper. Set aside.
- Step 2: In a large light-bottomed Dutch oven over medium heat, melt the butter. Stir constantly with a heat-resistant spatula or wooden spoon as the butter foams and then begins to brown, scraping to prevent milk solids from sticking. Watch for a chestnut brown color and a nutty aroma.
- Step 3: Once browned, add 6 cups of mini marshmallows. Stir until melted, then remove from heat and turn off the burner.
- Step 4: Stir in the vanilla extract, salt, and peanut butter until well combined.
- Step 5: Fold in the Rice Krispie Cereal using a wooden spoon or rubber spatula. It will be sticky—keep mixing until evenly coated.
- Step 6: Add the remaining 2 cups of mini marshmallows and stir just until they are mixed in. This leaves little pockets of marshmallow throughout.
- Step 7: Transfer the mixture to the prepared pan. Gently press it down with the back of a butter wrapper or a greased spatula. Press lightly rather than tightly compacting for the best texture.
- Step 8: Garnish with flaky sea salt or drizzle melted dark chocolate on top for an extra special touch.
- Step 9: Let the treats cool at room temperature for 30-60 minutes. Cover if leaving out for longer than an hour.
- Step 10: Lift the treats out of the pan onto a cutting board. Cut into bars and enjoy!
Tips & Variations
- Use light-colored or white-bottomed pans to easily monitor the browning of the butter and avoid burning.
- Swap peanut butter for cookie butter or almond butter for a different nutty flavor.
- Press the mixture gently to keep the treats light and chewy rather than dense.
- Add a sprinkle of chopped peanuts on top for crunch and extra peanut flavor.
Storage
Store the Peanut Butter Rice Krispie Treats in an airtight container at room temperature for up to 3 days. For longer storage, keep them in the refrigerator for up to a week. If refrigerated, allow them to come to room temperature before serving for the best texture. They can also be frozen for up to a month; thaw overnight in the refrigerator.
How to Serve
Serve this delicious recipe with your favorite sides.
FAQs
Can I use natural peanut butter in this recipe?
Yes, you can use natural peanut butter, but it may affect the texture slightly as natural peanut butter is often thinner. Stir well to ensure it blends smoothly with the melted marshmallows.
What is the purpose of browning the butter?
Browning the butter adds a rich, nutty flavor that enhances the overall taste of the treats. It also deepens the aroma, making the snacks more flavorful and complex than using plain melted butter.
PrintPeanut Butter Rice Krispie Treats Recipe

These Peanut Butter Rice Krispie Treats are a delightful twist on the classic dessert, combining the rich flavor of brown butter with creamy peanut butter and crispy rice cereal for a chewy, sweet snack with a nutty aroma and delicious marshmallow pockets.
- Prep Time: 10 minutes
- Cook Time: 10 minutes
- Total Time: 50-70 minutes
- Yield: 16 bars 1x
- Category: Dessert
- Method: Stovetop
- Cuisine: American
Ingredients
Wet Ingredients
- 1/2 cup unsalted butter
- 3/4 cup creamy peanut butter (or cookie butter)
- 2 tsp vanilla extract
Dry Ingredients
- 6 cups Rice Krispie Cereal
- 1/2 tsp salt
Marshmallows
- 8 cups mini marshmallows, divided (6 cups + 2 cups)
Instructions
- Prepare the Pan: Lightly grease a 9×9 inch pan with baking spray or line it with parchment paper to prevent sticking. Set aside.
- Brown the Butter: In a large light-bottomed Dutch oven over medium heat, melt the butter. Stir constantly with a heat-resistant spatula or wooden spoon to prevent the milk solids from sticking. Continue until the butter turns a chestnut brown color and emits a nutty aroma, indicating the brown butter stage.
- Melt Marshmallows: Immediately add 6 cups of mini marshmallows to the browned butter. Stir with a wooden spoon until the marshmallows fully melt, then remove the pan from heat and turn off the burner.
- Add Flavorings: Stir in the vanilla extract and salt thoroughly. Then incorporate the creamy peanut butter, mixing well until smooth and combined.
- Combine Cereal: Add the 6 cups of Rice Krispie cereal into the mixture. Stir energetically with a wooden spoon or rubber spatula until the cereal is evenly coated and sticky.
- Add Remaining Marshmallows: Fold in the remaining 2 cups of mini marshmallows, mixing just enough to distribute them throughout while leaving some small pockets intact for texture.
- Transfer and Press: Pour the mixture into the prepared pan. Use the back of the butter wrapper or a greased spatula to gently press down the mixture. Be careful to press lightly rather than compacting tightly to maintain a chewy texture.
- Garnish: Sprinkle flaky sea salt over the top or drizzle melted dark chocolate for an extra touch of flavor and decoration.
- Cool: Allow the treats to cool at room temperature for 30 to 60 minutes. Cover them if left out longer than an hour to maintain freshness.
- Cut and Serve: Once cooled, lift the treats out of the pan onto a cutting board. Cut into bars and enjoy your delicious peanut butter-infused Rice Krispie treats!
Notes
- Using a light-bottomed pan helps monitor the browning of the butter to avoid burning.
- The brown butter adds a complex, nutty flavor that enhances the overall taste.
- Gently pressing the mixture instead of compressing ensures the treats stay soft and chewy.
- Flaky sea salt balances sweetness and highlights flavors, but is optional.
- You can swap peanut butter for cookie butter for a different taste variation.
- Cover bars if stored at room temperature longer than an hour to prevent drying out.
Keywords: Peanut Butter Rice Krispie Treats, Brown Butter Rice Krispies, Peanut Butter Marshmallow Treats, No-Bake Dessert, Easy Snacks