Cherry Chia Pudding Recipe
Introduction
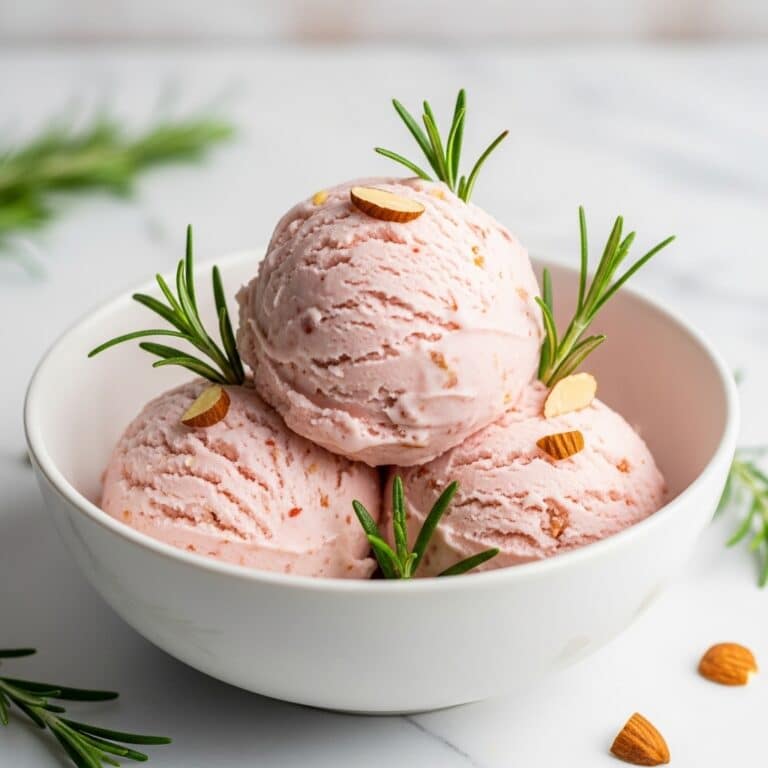
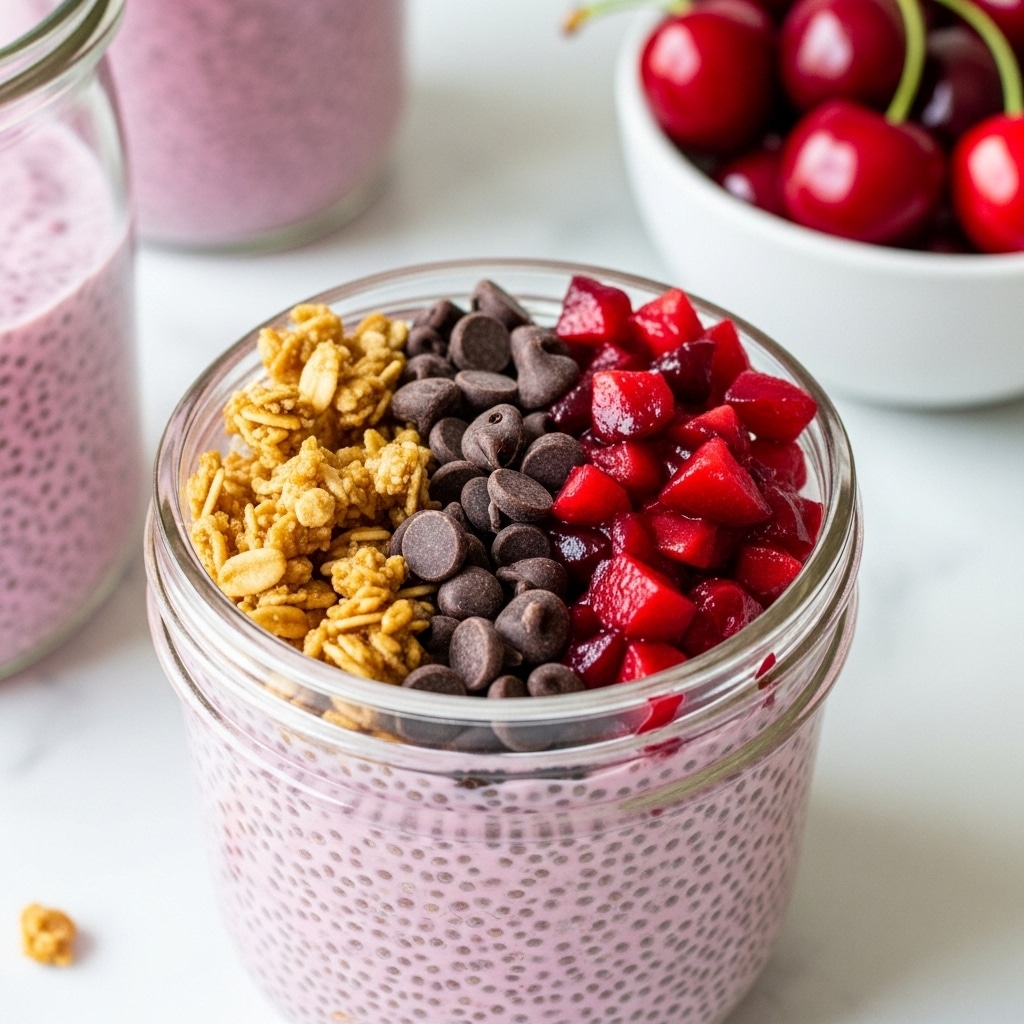
This Cherry Chia Pudding is a delicious and nutritious way to start your day or enjoy a wholesome snack. Made with frozen cherries and almond extract, it offers a refreshing fruity flavor combined with the creamy texture of chia seeds soaked in dairy-free milk.

Ingredients
- 1/2 cup (70 g) frozen cherries
- 1/2 cup (125 ml) dairy-free milk
- 2 teaspoons maple syrup, or to taste
- 1/8 teaspoon almond extract, or to taste
- 3 tablespoons (30 g) whole chia seeds
Instructions
- Step 1: In a blender, combine the frozen cherries, dairy-free milk, maple syrup, and almond extract. Blend until smooth. Using a small personal blender works well for this single-serving recipe.
- Step 2: Pour the blended cherry mixture into a jar or container, then stir in the whole chia seeds evenly.
- Step 3: Let the mixture sit for about 10 minutes, then stir again to break up any chia clumps and ensure even distribution.
- Step 4: Cover the container and refrigerate overnight. Some chia seed brands need this time to thicken properly, though a few hours might suffice if your chia gels quickly.
- Step 5: Before serving, give the pudding a good stir. Taste and add more maple syrup if needed. Add your favorite toppings, then enjoy!
Tips & Variations
- Use fresh cherries in season instead of frozen for a different texture and brighter flavor.
- Try coconut or almond milk to change the base flavor of the pudding.
- Add a handful of chopped nuts or granola on top for crunch.
- For extra richness, swirl in a spoonful of nut butter before refrigerating.
Storage
Store the chia pudding in an airtight container in the refrigerator for up to 3 days. Stir well before serving if it thickens too much. It’s best enjoyed cold and does not require reheating.
How to Serve
Serve this delicious recipe with your favorite sides.
FAQs
Can I use fresh cherries instead of frozen?
Yes, fresh cherries work well. You may need to add a few ice cubes or chill the mixture to maintain a cool pudding texture.
What if my chia pudding is too runny?
If it’s too runny, stir in an additional tablespoon of chia seeds and let it sit longer in the fridge to thicken fully.
PrintCherry Chia Pudding Recipe
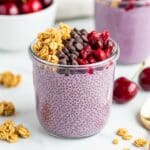
This Cherry Chia Pudding is a simple, nutritious, and delicious dairy-free breakfast or snack option. Made with frozen cherries, dairy-free milk, maple syrup, almond extract, and chia seeds, it blends vibrant fruit flavors with creamy texture and a boost of omega-3-rich chia seeds. Perfect for a make-ahead meal, it requires minimal preparation and sets overnight for a ready-to-eat, wholesome treat.
- Prep Time: 10 minutes
- Cook Time: 0 minutes
- Total Time: 8 hours 10 minutes (includes overnight refrigeration)
- Yield: 1 serving 1x
- Category: Breakfast
- Method: Blending
- Cuisine: American
- Diet: Vegan
Ingredients
Fruit and Liquid Base
- 1/2 cup (70 g) frozen cherries
- 1/2 cup (125 ml) dairy-free milk
Sweetener and Flavoring
- 2 teaspoons maple syrup, or to taste
- 1/8 teaspoon almond extract, or to taste
Seeds
- 3 tablespoons (30 g) whole chia seeds
Instructions
- Blend Cherry Mixture: To a blender, add the frozen cherries, dairy-free milk, maple syrup, and almond extract. Blend until smooth. Using a small personal blender is ideal for creating a single serving efficiently.
- Add Chia Seeds: Pour the cherry milk mixture into a jar or container, then stir in the whole chia seeds thoroughly to ensure even distribution.
- Initial Setting: Let the chia pudding sit for about 10 minutes, then stir again to break up any chia seed clumps that may have formed, promoting a smooth texture.
- Refrigerate Overnight: Cover the container and refrigerate overnight. This allows the chia seeds to fully absorb the liquid and thicken the pudding. Depending on the chia seed brand, thickening may require several hours, so overnight chilling is recommended for optimal consistency.
- Final Stir and Serve: Before serving, give the chia pudding a good stir. Taste and add more maple syrup if sweetness is desired. Add your favorite toppings, then enjoy this creamy, fruity pudding as a nutritious breakfast or snack.
Notes
- Use any type of dairy-free milk, such as almond, oat, or coconut milk, based on your preference.
- If you prefer a smoother pudding texture, you can soak the chia seeds in the blended cherry mixture for a longer time before refrigerating.
- Adjust the sweetness by adding more or less maple syrup according to taste.
- Chilling overnight improves the pudding’s creaminess and flavor melding.
- Consider topping with fresh fruit, nuts, or shredded coconut for extra texture and nutrients.
Keywords: cherry chia pudding, vegan chia pudding, dairy-free breakfast, healthy snack, overnight chia pudding, fruit pudding