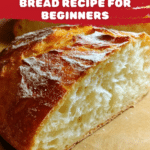
Easy No-Knead Gluten-Free Bread for Beginners Recipe
Introduction
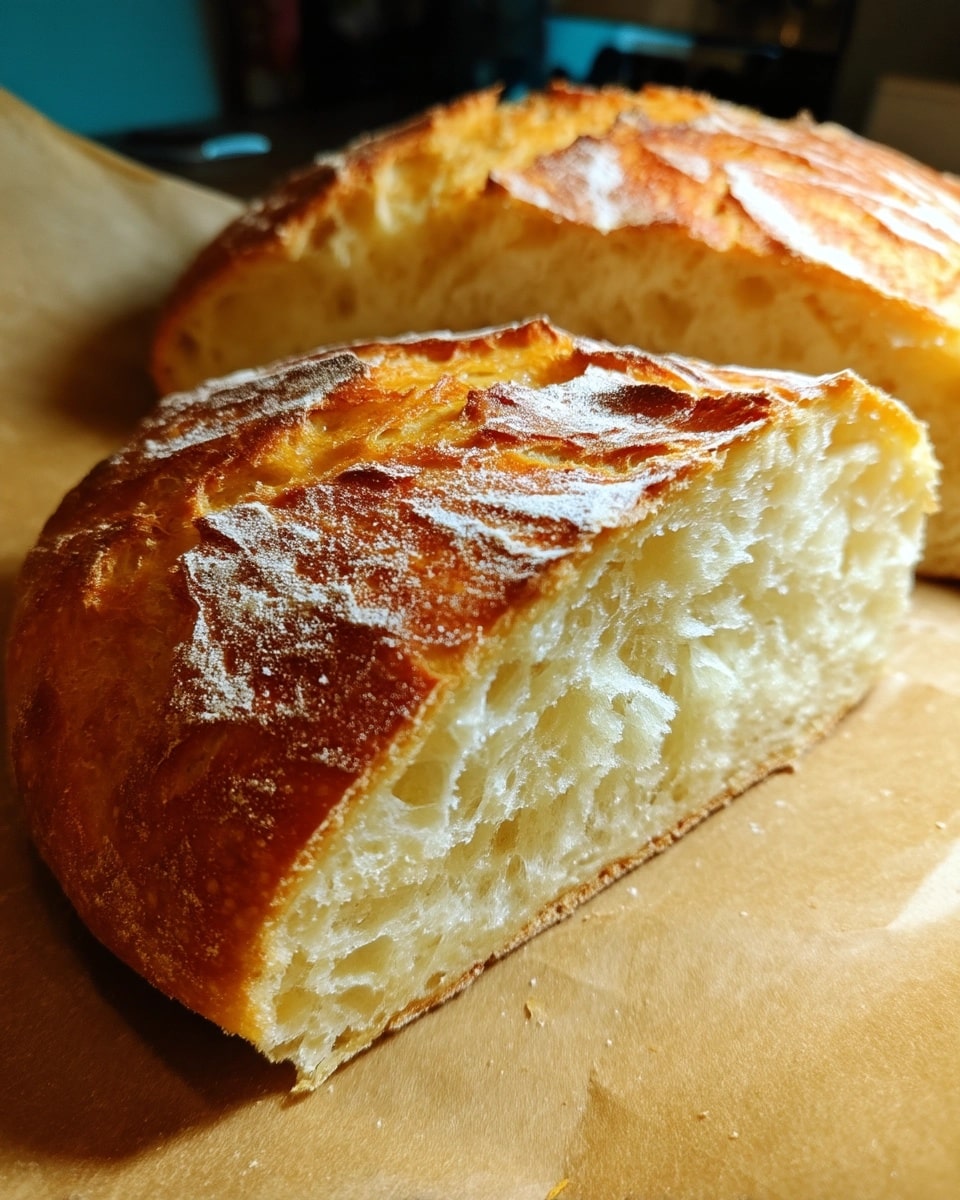
This easy no-knead gluten-free bread is perfect for beginners looking to enjoy fresh homemade bread without the fuss. With just a few simple ingredients and minimal effort, you’ll have a delicious, chewy loaf ready in under four hours.
Ingredients
- 3 cups Gluten-Free All-Purpose Flour Blend (look for a blend with xanthan gum, like King Arthur Measure for Measure)
- 1.5 cups warm water (should feel like warm bath water)
- 2.25 teaspoons (one packet) Instant Yeast
- 1.5 teaspoons fine sea salt
- 1 tablespoon honey or sugar
- Optional: 1 tablespoon psyllium husk powder for extra chew
Instructions
- Step 1: In a large glass or ceramic bowl, whisk together the gluten-free flour blend, salt, and instant yeast.
- Step 2: Pour the warm water and honey into the bowl.
- Step 3: Use a sturdy spoon to mix until no dry flour remains. The dough should be sticky and shaggy.
- Step 4: Cover the bowl with a clean towel or plastic wrap. Let it sit in a warm, draft-free spot for 2 to 3 hours until bubbly.
- Step 5: Place a Dutch oven inside your oven and preheat to 450°F (230°C) for at least 30 minutes.
- Step 6: Scrape the dough onto parchment paper. Use wet hands to smooth the top into a round shape.
- Step 7: Carefully drop the parchment and dough into the hot Dutch oven. Bake with the lid on for 30 minutes.
- Step 8: Remove the lid and bake for another 15 minutes until golden and crunchy.
- Step 9: Let the bread cool on a wire rack for at least one hour before slicing to prevent a gummy texture.
Tips & Variations
- Add 1 tablespoon of psyllium husk powder to improve the bread’s chew and structure.
- Use honey for a subtle sweetness or sugar if you prefer a neutral flavor.
- Ensure the water is warm but not hot to activate the yeast without killing it.
- Try adding herbs or seeds to the dough for extra flavor and texture.
Storage
Store the bread wrapped in a clean kitchen towel or in an airtight container at room temperature for up to 3 days. For longer storage, slice and freeze the bread in a zip-top bag for up to 1 month. Reheat slices in a toaster or oven to refresh texture before eating.
How to Serve
Serve this delicious recipe with your favorite sides.
FAQs
Can I use a different flour blend?
Yes, but make sure the blend contains xanthan gum or another binder to help hold the bread together since this recipe relies on that for structure.
Do I have to use a Dutch oven?
A Dutch oven helps create steam and a crispy crust, but if you don’t have one, you can bake on a baking stone with a pan of water nearby to mimic steam. The crust may be less crunchy but still tasty.
PrintEasy No-Knead Gluten-Free Bread for Beginners Recipe
This Easy No-Knead Gluten-Free Bread Recipe is perfect for beginners looking to bake fresh, homemade bread without the fuss of kneading. Using a gluten-free all-purpose flour blend, instant yeast, and a simple mix-and-rise method, this recipe yields a delicious, chewy loaf with a golden crust baked in a Dutch oven. Ideal for those who want a straightforward gluten-free bread baked on the stovetop/oven method with minimal hands-on time.
- Prep Time: 15 minutes
- Cook Time: 45 minutes
- Total Time: 3 hours 55 minutes
- Yield: 1 loaf (about 1 pound) 1x
- Category: Bread
- Method: Baking
- Cuisine: American
- Diet: Gluten Free
Ingredients
Dry Ingredients
- 3 cups Gluten-Free All-Purpose Flour Blend (with xanthan gum, e.g., King Arthur Measure for Measure)
- 2.25 teaspoons (one packet) Instant Yeast
- 1.5 teaspoons fine sea salt
- Optional: 1 tablespoon psyllium husk powder for extra chew
Wet Ingredients
- 1.5 cups warm water (about 100°F or warm bath water temperature)
- 1 tablespoon honey or sugar
Instructions
- Mix the Dry Ingredients: In a large glass or ceramic bowl, whisk together the gluten-free flour blend, fine sea salt, and instant yeast until well combined.
- Add the Liquids: Pour the warm water and honey into the dry mixture, ensuring the water is warm to activate the yeast effectively.
- Stir Together: Using a sturdy spoon, mix the ingredients until there are no dry flour patches and the dough is sticky and shaggy in texture.
- The First Rise: Cover the bowl with a clean towel or plastic wrap, then place it in a warm, draft-free area. Let it rise for 2 to 3 hours until the dough becomes bubbly and has noticeably expanded.
- Preheat Your Oven: Place a Dutch oven with its lid inside your oven and preheat to 450°F (230°C) for at least 30 minutes to ensure the pot is thoroughly heated for baking.
- Shape the Dough: Carefully scrape the risen dough onto a piece of parchment paper. Wet your hands and gently smooth the top of the dough into a rounded loaf shape.
- Bake: Using the parchment paper, lower the dough into the hot Dutch oven. Cover with the lid and bake for 30 minutes to set the structure.
- Finish the Crust: Remove the lid and continue baking for an additional 15 minutes until the crust becomes golden brown and crunchy.
- Cool: Transfer the bread to a wire rack and allow it to cool completely for at least one hour before slicing to avoid a gummy texture inside.
Notes
- Make sure your warm water is not too hot to avoid killing the yeast; it should feel like warm bathwater.
- Using a Dutch oven helps create a steamy environment for a better crust and crumb texture.
- The optional psyllium husk powder adds chewiness, mimicking gluten’s elasticity in the bread.
- Allowing the bread to cool fully is crucial for the best slicing results without it becoming gummy.
Keywords: gluten-free bread, no-knead bread, easy gluten-free recipe, Dutch oven bread, beginner bread recipe, yeast bread gluten free